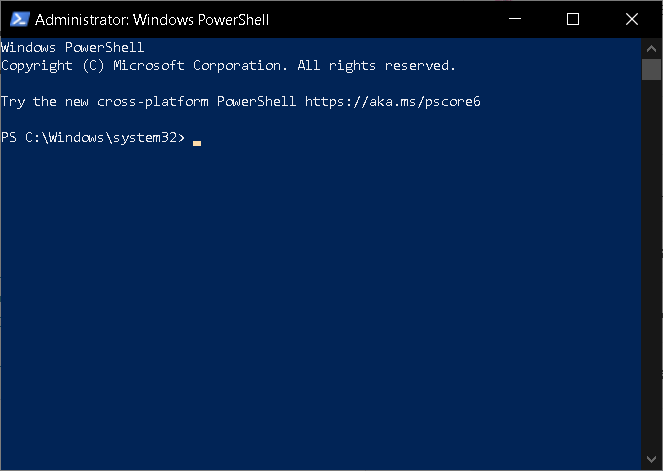
To manage Windows Updates using PowerShell commands on your Windows 10 Enterprise, follow these steps:
1. Open PowerShell as an Administrator
Navigate to the Start menu, search for PowerShell, right-click on it, and select ‘Run as administrator’. This will open a PowerShell window with administrative privileges.
2. Install the PSWindowsUpdate Module
The PSWindowsUpdate Module is a powerful tool that enables you to manage Windows Updates directly from PowerShell. To install this module, execute the following command:
Install-Module PSWindowsUpdate3. Check for Updates
Once the PSWindowsUpdate Module is installed, you can check for available updates by running the following command:
Get-WindowsUpdate4. Install Updates
If there are updates available, you can install all of them by executing the following command:
Install-WindowsUpdate5. Automatic Reboot After Update
If you want your system to automatically reboot after installing the updates (which is often necessary for the updates to take effect), you can use the following command:
Get-WindowsUpdate -AcceptAll -Install -AutoRebootBy following these steps, you can effectively manage your Windows Updates using PowerShell commands. Remember to run these commands regularly to keep your system up-to-date and secure.
#CommandLine #EnterpriseSolutions #ITManagement #PowerShell #PSWindowsUpdateModule #SoftwareUpdates #SystemAdmin #TechGuides #Windows10 #WindowsUpdates